Comprehensive Guide to Weld Inspection Techniques for Piping Engineering Students
Weld inspection is a critical component in the realm of piping engineering, ensuring that welded joints meet the necessary safety, quality, and performance standards. This process, though often overlooked, is vital for preventing failures that could lead to catastrophic accidents, financial losses, and compromised system integrity. For graduate students specializing in piping engineering, understanding the intricacies of weld inspection is paramount, as it forms a fundamental part of the engineering and quality assurance process.
Weld inspection encompasses a series of evaluations aimed at verifying the integrity and compliance of welded joints with industry standards and specifications. The objective of weld inspection is to identify defects that may compromise the mechanical properties of the weld or the overall structure. These inspections can be performed using various techniques, ranging from visual assessments to sophisticated non-destructive testing (NDT) methods. Each approach plays a distinct role in determining the quality of the weld and ensuring that it is fit for service.
Types of Weld Inspection Methods
Graduate students in piping engineering must be familiar with the various weld inspection methods. These can be broadly classified into non-destructive testing (NDT) methods and destructive testing methods:
1. Visual Inspection
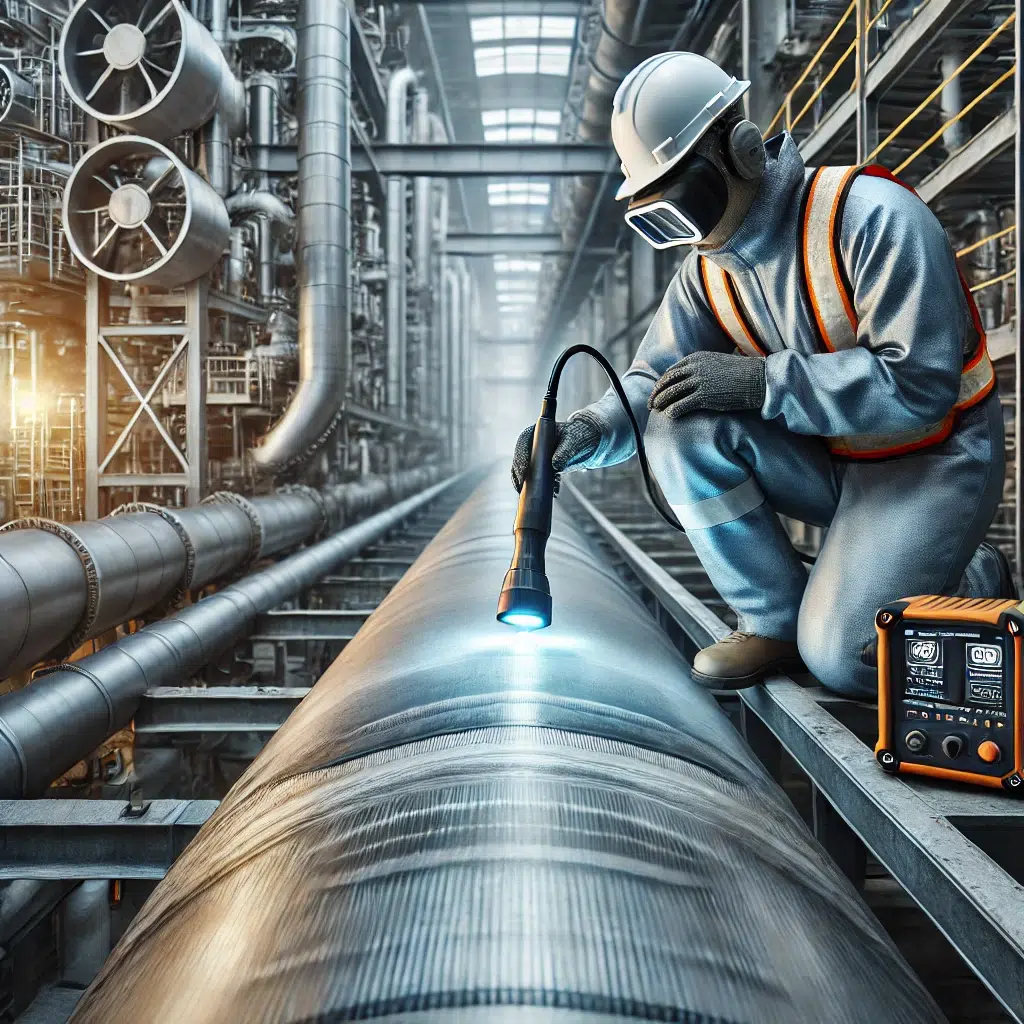
Visual inspection is the most basic form of weld inspection and is typically the first step in assessing weld quality. This method involves a trained inspector examining the weld with the naked eye or with magnification tools. The inspector checks for visible surface defects, such as cracks, undercuts, porosity, and incomplete fusion.
Despite its simplicity, visual inspection is a critical step that can identify many surface-level defects. However, it does not reveal subsurface flaws, making it insufficient as a standalone technique for comprehensive weld evaluation.
2. Radiographic Testing (RT)
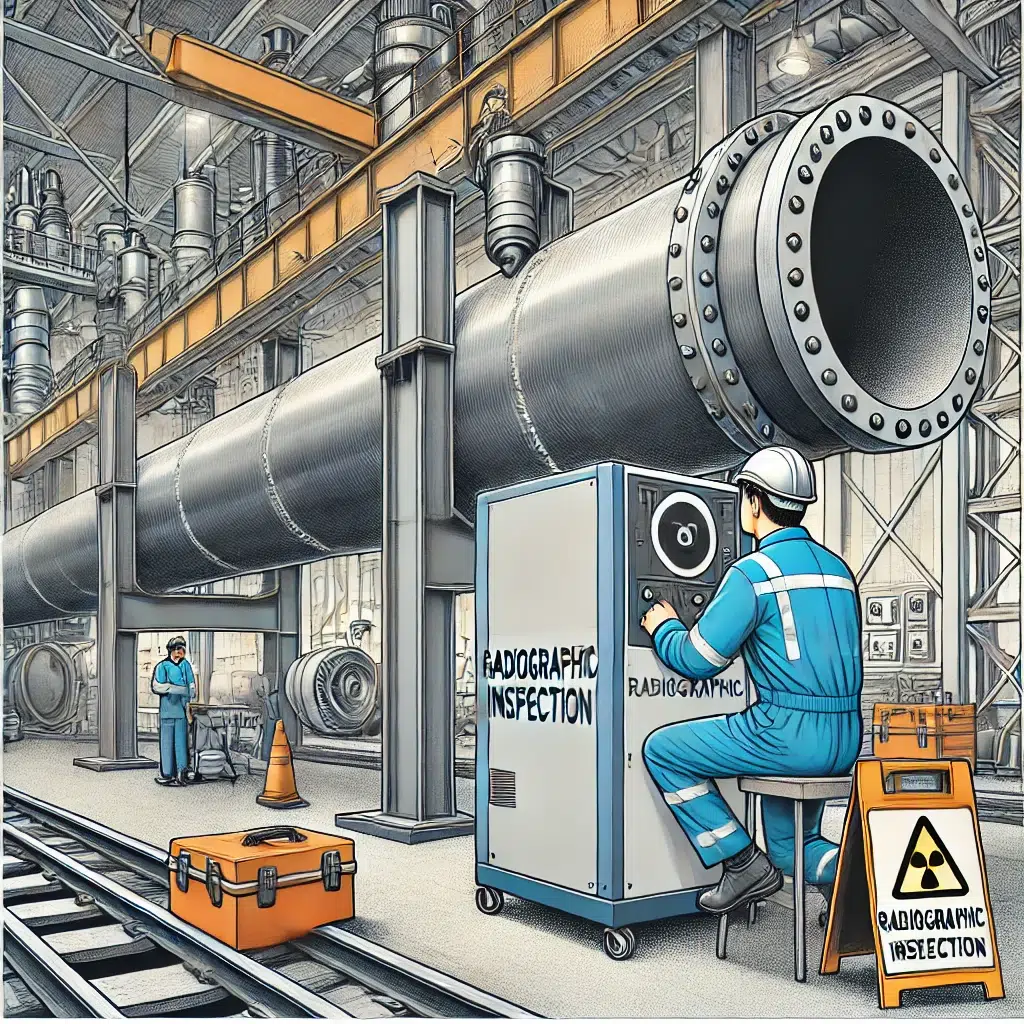
Radiographic testing is an NDT method that utilizes X-rays or gamma rays to detect internal flaws in welds. The radiation passes through the weld and is captured on a film or digital detector, producing an image that highlights any inconsistencies or defects within the weld.
RT is highly effective for identifying issues such as porosity, slag inclusions, and cracks. However, it requires specialized equipment and trained personnel, making it more costly and time-consuming than simpler methods. Despite these drawbacks, radiographic weld inspection remains a preferred technique for its ability to reveal subsurface defects with a high degree of accuracy.
3. Ultrasonic Testing (UT)
Ultrasonic testing is another NDT method widely used in weld inspection. In UT, high-frequency sound waves are directed into the weld, and the reflected signals are analyzed to detect flaws. This method is particularly effective for identifying cracks, voids, and other defects deep within the weld.
One advantage of ultrasonic testing is its ability to provide detailed information about the size and location of defects. Additionally, UT does not pose the radiation risks associated with radiographic testing, making it safer for operators. However, it requires highly trained inspectors and may be less effective on complex weld geometries.
4. Magnetic Particle Testing (MT)
Magnetic particle testing is used to detect surface and slightly subsurface defects in ferromagnetic materials. The weld area is magnetized, and ferrous particles are applied to the surface. If there are discontinuities in the weld, the magnetic field is disturbed, causing the particles to accumulate at the defect site, thereby revealing it to the inspector.
MT is an effective method for identifying surface cracks and other shallow defects. It is quick and cost-effective but is limited to ferromagnetic materials and may not be suitable for non-ferrous metals such as aluminum or austenitic stainless steel.
5. Liquid Penetrant Testing (PT)
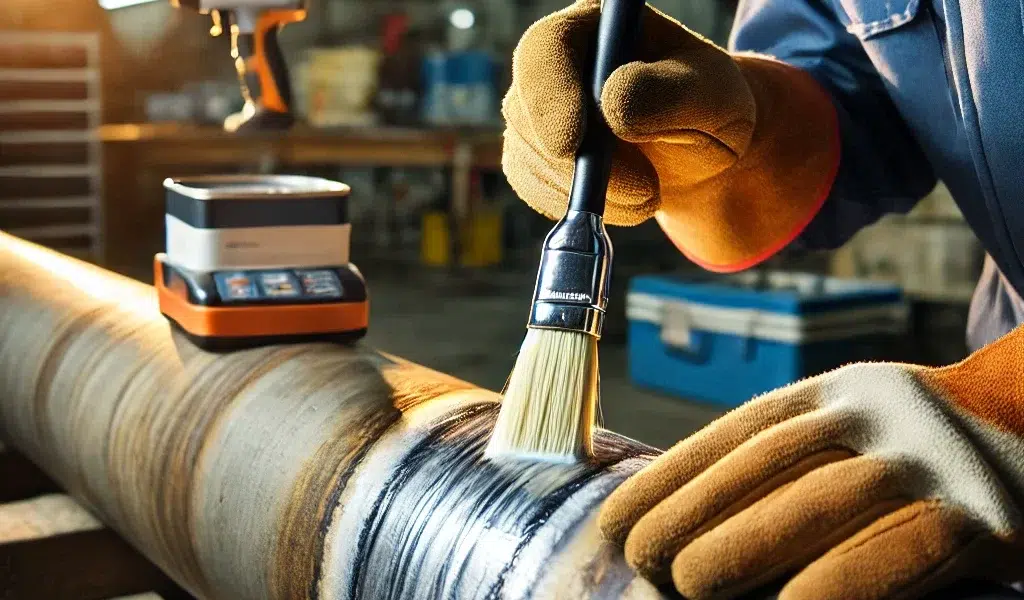
Liquid penetrant testing is a simple and cost-effective method for identifying surface defects in non-porous materials. The process involves applying a liquid penetrant to the weld surface, allowing it to seep into any cracks or voids. After a dwell time, the excess penetrant is removed, and a developer is applied, which draws out the penetrant from defects, making them visible to the inspector.
PT is highly effective for surface inspections, but it cannot detect subsurface flaws. It is commonly used in conjunction with other weld inspection techniques for a more comprehensive evaluation.
Standards and Codes Governing Weld Inspection
Standards and codes form the backbone of any engineering practice by ensuring that weld inspection processes are uniform, reliable, and effective. Adhering to established standards is crucial for maintaining the quality and safety of piping systems. In the field of weld inspection, multiple internationally recognized codes provide comprehensive guidelines that engineers must follow to verify the integrity of welded joints. Here, we delve deeper into the critical standards that govern weld inspection and their specific provisions.
ASME Boiler and Pressure Vessel Code (BPVC)
The ASME Boiler and Pressure Vessel Code (BPVC) is one of the most authoritative documents for engineers involved in the design, construction, and inspection of pressure vessels and piping systems. It provides a detailed framework for the fabrication and quality assurance of welded joints, specifying rigorous inspection criteria to ensure that components meet the highest safety and performance standards.
The BPVC is divided into several sections, with Section V focusing on non-destructive examination (NDE). This section outlines the acceptable techniques for inspecting welded joints, such as radiographic testing (RT), ultrasonic testing (UT), magnetic particle testing (MT), and liquid penetrant testing (PT). Each method is described in detail, with specific instructions on how to conduct these tests to achieve reliable and accurate results. Section IX of the BPVC, which deals with welding and brazing qualifications, also plays a crucial role by providing the procedures and acceptance criteria for welder and welding procedure qualifications.
The BPVC’s rigorous standards ensure that weld inspection practices meet stringent quality requirements, thus reducing the risk of weld failures that could compromise the safety of pressure vessels and piping systems. Engineers who work on high-pressure and high-temperature applications rely heavily on this code for comprehensive guidelines on assessing weld quality.
AWS D1.1 Structural Welding Code
The AWS D1.1 Structural Welding Code, published by the American Welding Society (AWS), is another essential standard that addresses the requirements for welding and inspection of structural steel. While it primarily focuses on construction applications, its relevance extends to many piping engineering projects where structural welds are involved.
The AWS D1.1 code provides an exhaustive list of inspection protocols for ensuring weld quality, including visual inspection criteria, the use of non-destructive testing (NDT) methods, and procedures for qualifying welding operators. It also defines the permissible levels of various weld discontinuities, such as cracks, porosity, and incomplete fusion, and the corrective measures to be taken if these discontinuities exceed acceptable thresholds.
Specific sections within AWS D1.1 delve into the responsibilities of inspectors, detailing the qualifications required for inspection personnel and the essential steps they must take to verify weld integrity. The code also outlines the calibration and validation of inspection equipment, ensuring that all tests yield consistent and reliable results.
This standard is widely used in industries where the structural integrity of components is paramount. Graduate students in piping engineering should understand how AWS D1.1 applies to their work, especially in projects that involve complex structural assemblies and require high levels of reliability.
API 1104 Welding of Pipelines and Related Facilities
The API 1104 standard, developed by the American Petroleum Institute (API), is specifically designed for the welding of pipelines and related facilities. It is a critical code for industries that rely on the transportation of oil, gas, and other hazardous materials through extensive pipeline networks. Ensuring the integrity of pipeline welds is essential to prevent leaks, environmental damage, and potential safety hazards.
API 1104 outlines comprehensive guidelines for the entire welding process, from joint preparation to post-weld inspection. It covers various weld inspection methods, emphasizing non-destructive testing techniques such as radiographic testing and ultrasonic testing. The standard provides detailed instructions for interpreting test results and sets specific acceptance criteria for different types of weld discontinuities, such as inclusions, incomplete penetration, and misalignment.
This standard is particularly stringent in its requirements for inspecting pipeline welds due to the high stakes associated with their failure. The criteria for defect acceptance are more rigorous, given the potential consequences of weld failures in high-pressure and high-capacity pipelines. API 1104 also includes provisions for the inspection of girth welds, which are especially critical in maintaining the continuous integrity of long-distance pipelines.
Advanced Techniques in Weld Inspection
As technology advances, so do the techniques used in weld inspection. Emerging methods such as phased array ultrasonic testing (PAUT), time-of-flight diffraction (TOFD), and automated weld inspection systems are enhancing the accuracy and efficiency of weld evaluations. These methods, when combined with digital data analytics and machine learning, offer new dimensions of precision in the inspection process.
1. Phased Array Ultrasonic Testing (PAUT)
Overview of PAUT Technology
Phased Array Ultrasonic Testing (PAUT) uses an array of ultrasonic transducers that can be electronically controlled to steer, focus, and scan the sound beam. Unlike conventional ultrasonic testing, which uses a single transducer, PAUT can generate a cross-sectional view of the weld by manipulating the beam in real-time. This capability allows engineers to examine complex geometries and detect subtle defects that might go unnoticed with traditional methods.
Advantages of PAUT
- High Sensitivity and Resolution: PAUT provides high-resolution images, enabling the detection of tiny cracks, voids, and inclusions.
- Real-Time Imaging: The real-time visualization of welds allows for immediate analysis, which is beneficial for critical applications where time is a constraint.
- Customizable Scanning Angles: The ability to adjust the scanning angles helps in the thorough inspection of complex or irregular welds, ensuring comprehensive coverage.
Applications in Piping Engineering
PAUT is particularly useful for inspecting large or complex welds where traditional methods may fall short. It is ideal for applications that require precise flaw detection, such as pressure vessels, high-temperature pipelines, and welded joints in harsh environments. The ability to generate real-time images of the weld cross-section makes it invaluable for identifying defects that could lead to structural failure.

2. Time-of-Flight Diffraction (TOFD)
How TOFD Works
Time-of-Flight Diffraction (TOFD) is an advanced ultrasonic testing method that uses the time it takes for sound waves to travel to and from a defect to identify and characterize flaws within the weld. Unlike conventional ultrasonic methods that rely on reflection, TOFD captures diffracted waves emitted from the tips of a flaw, providing accurate information on the defect’s size and position.
Advantages of TOFD
- High Accuracy: TOFD is known for its high accuracy in measuring the depth and length of weld defects.
- Comprehensive Coverage: This method can inspect the entire volume of the weld, making it effective for full-volume inspection.
- Fast Data Collection: TOFD can rapidly collect data and display it as a B-scan image, providing immediate insight into weld quality.
Limitations
While TOFD is highly accurate, it may struggle with detecting very small or near-surface defects. Therefore, it is often used in conjunction with PAUT to create a comprehensive weld inspection strategy.
3. Automated Weld Inspection Systems
Overview of Automation in Weld Inspection
Automated weld inspection systems utilize robotics and advanced imaging technologies to conduct inspections with minimal human intervention. These systems are designed to operate in challenging environments and can be programmed to inspect extensive piping networks, enhancing consistency and speed.
Key Components of Automated Systems
- Robotic Arms: Equipped with inspection tools and sensors, robotic arms can perform high-precision scans of welds along pipelines and hard-to-reach areas.
- Imaging Technologies: Advanced cameras and laser scanning technologies capture high-resolution images of the weld surface, which can be analyzed using machine learning algorithms.
- Data Integration: Automated systems collect data that can be integrated into centralized monitoring systems for real-time analysis and long-term performance tracking.
Benefits of Automated Weld Inspection
- Reduced Human Error: Automation reduces the potential for inconsistencies in inspection results by minimizing manual involvement.
- Increased Speed and Efficiency: Automated systems can cover large areas quickly, allowing for faster inspection cycles.
- Enhanced Safety: Using automated systems in hazardous environments helps protect inspectors from potential dangers.
Future Prospects of Automation
The integration of automated weld inspection with Industry 4.0 technologies, such as the Internet of Things (IoT) and digital twins, is set to enhance predictive maintenance and proactive fault detection. This evolution will further improve the reliability and safety of complex piping systems.
4. Advanced Radiographic Testing (ART)
Digital Radiography (DR)
Digital Radiography (DR) is an advancement over traditional film-based radiographic testing, providing immediate results and eliminating the need for film development. DR uses flat-panel detectors to capture images and produce high-resolution radiographs of the weld.
Advantages of Digital Radiography
- Faster Inspection: Digital imaging significantly reduces the time required for inspection, as images are available for analysis almost instantly.
- Improved Image Quality: DR provides enhanced image quality with greater detail, aiding in the detection of finer imperfections.
- Environmentally Friendly: Eliminates the use of chemicals associated with film processing.
Computed Radiography (CR)
Computed Radiography (CR) is a step between traditional film radiography and DR. It uses phosphor imaging plates to capture weld images, which are then scanned to produce digital images. This technique offers better image quality than conventional film while still being more affordable than DR.
Challenges and Limitations in Weld Inspection
Despite the advances in weld inspection methods, there are challenges and limitations that must be considered. For instance, while radiographic testing offers high accuracy, it poses safety risks due to radiation exposure. Similarly, ultrasonic testing, while effective, can be challenging when dealing with complex weld geometries or materials with high attenuation rates.
Another limitation is the skill level required for proper interpretation of weld inspection results. Highly trained and certified inspectors are necessary to accurately diagnose defects and make informed decisions about the acceptability of a weld. This requirement underscores the importance of continuous training and education in the field of weld inspection.
The Future of Weld Inspection in Piping Engineering

The future of weld inspection is likely to see an increasing reliance on digital technologies and machine learning algorithms. By incorporating artificial intelligence (AI) into the weld inspection process, engineers can improve the accuracy and efficiency of defect detection. AI-driven systems can analyze inspection data, learn from patterns, and assist in making predictive maintenance decisions.
Additionally, augmented reality (AR) is being explored as a tool for assisting weld inspectors. AR can overlay digital information onto real-world welds, guiding inspectors through the process and highlighting areas of concern in real-time.
Conclusion
Weld inspection is an indispensable part of piping engineering that ensures the safety, reliability, and efficiency of welded structures. For graduate students venturing into this field, mastering the various techniques and understanding their applications and limitations is crucial. From visual inspection to advanced methods like phased array ultrasonic testing and automated systems, each technique has its place in the comprehensive assessment of welds.
As the industry evolves, weld inspection will continue to incorporate technological advancements, leading to more sophisticated, accurate, and efficient methods. By staying informed and adaptable, piping engineers can leverage these innovations to maintain the highest standards of safety and performance in their projects.

